
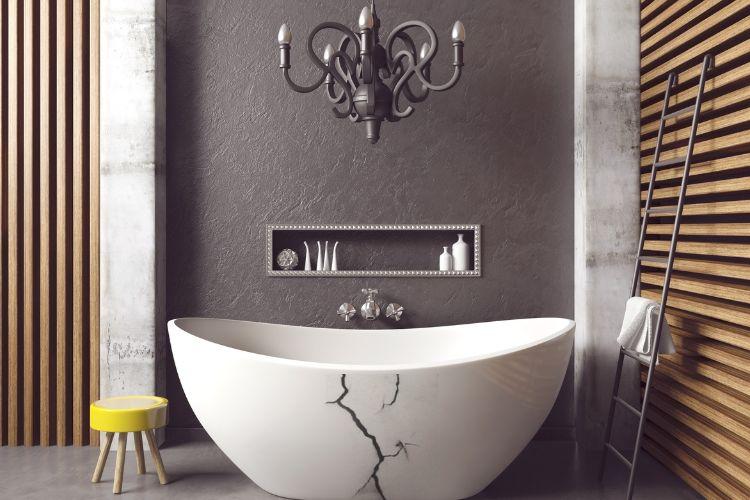
Is your bathroom getting messy with water leakage from bathtub cracks? If so, you must quickly repair the bathtub before further damage develops.
The continuing water leakage will damage your bathroom’s wall and flooring. Moreover, it promotes mold and creates a stinking smell that won’t make you feel like going to bathe.
Fortunately, a simple repair with a repair kit or epoxy tube is the perfect way to save your valuable asset. This way, you can enjoy a leak-proof bathtub again.
In this blog, we will cover expert tips for repairing a cracked bathtub yourself. From cleaning and drying the bathtub to applying a protective covering and letting it dry, we shall guide you from scratch.
So, get ready, and let’s repair the cracks in your large bathtub to make it ideal for use again.
How to Repair a Cracked Bathtub?
1. Check the Crack Properly
Before you move ahead with the repair process, it is essential to take a look at the crack and assess its depth.
It will help you understand the seriousness of the crack. Further, you can decide how to fix the crack using an epoxy tube or any other professional repair kit.
Moreover, you need to check if there are any sharp ends on the crack that may injure your hand when you try to repair it.
Once you have analyzed the crack, please stop using the bathtub before you repair it to avoid deepening the crack.
2. Clean the Bathtub
How will you repair a cracked bathtub when the crack is hidden in dirt and grime? Regularly using the bathtub often causes dirt and leftover soap to accumulate, creating a layer on the crack. This shall make it difficult for you to see the crack clearly.
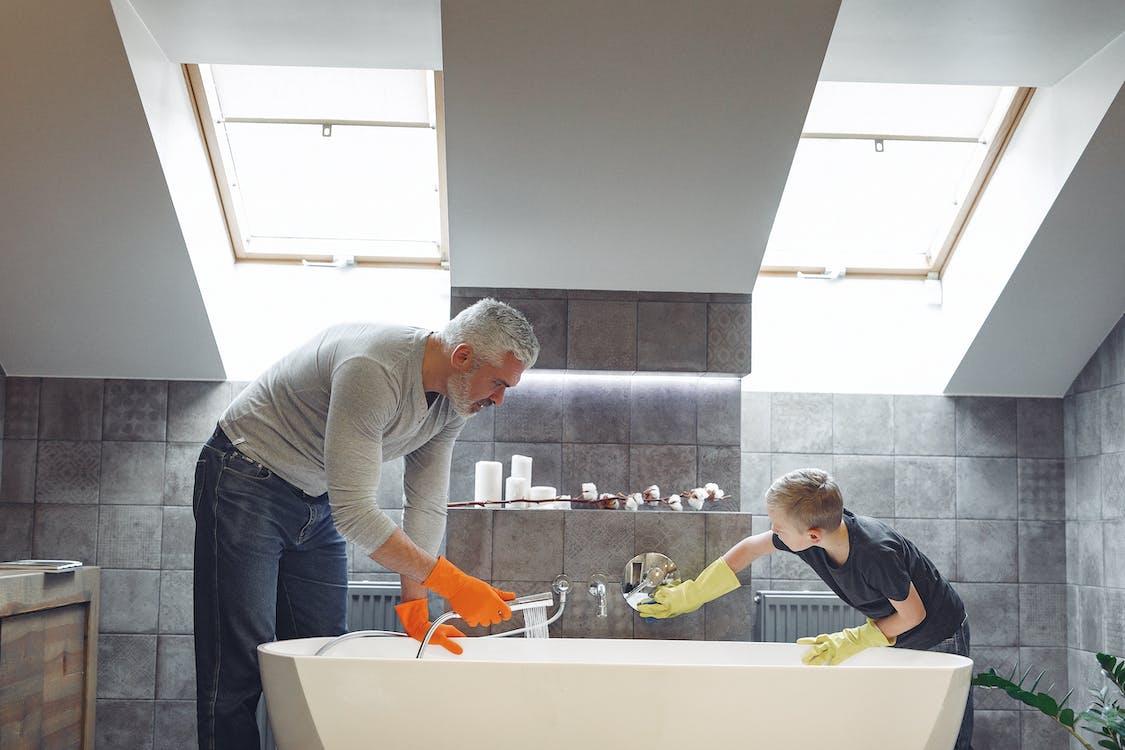
So, to keep yourself safe and not deteriorate the problem, remove any moisture or mold using soap, baking soda, or vinegar.
Make sure you wear proper rubber gloves and avoid any harsh cleaners. Apply it using a brush or sponge with gentle pressure.
When you are done, use warm water to rinse it and ensure that the crack is completely dry before you go ahead. You can use a clean cloth or towel to eliminate any remaining moisture.
3. Use a Bathtub Repair Kit
To fill up the bathtub crack, you must get a high-quality repair kit from the market. They have acrylic-based materials that fill the crack and make it strong.
If you don’t want to use a repair kit, purchase a quality epoxy adhesive. It bonds the materials of the bathtub crack while filling it. You can either apply it directly or use a regular spatula to pour the adhesive onto the surface of the crack.
4. Carefully Read the Instructions
Remember, before using any repair kits for any purpose, read and properly understand the instructions written behind its pack.
This will help you understand how to prepare the mix and ensure your safety. Follow the suggested thickness and coverage of the material to avoid any mistakes.
Also, you will learn about the mixing ratio and essential precautions for your safety and accurate material application.
5. Smoothen the Repair Mix
When you pour the thick repair mix into the crack, it leaves an uneven surface after drying. It can make you feel a prick on your skin every time you use the bathtub.
To avoid this, firstly, make sure that the repair mix has the right thickness before you apply it. Secondly, use a spoon or spatula to lift any extra material left over the crack before it dries.
After completing this step, ensure sufficient time for the mixture to dry based on the pack details. For this, leave the bathtub unused for a few days.
Before you begin to reuse it, you need to ensure that the material has fully repaired the crack. Else, it will wipe out your hard work.
6. Use Sandpaper to Polish the Surface
Sandpaper will blend the repair with the surrounding area of the tub for a perfect finish.
Once the repair material has cured and dried, you can use sandpaper on the patched crack. Use a light hand to finely smoothen and polish the surface and clean the dust with a dry towel.
7. Apply a Protective Cover
Do you want to ensure that the repaired crack does not emerge again? If yes, apply a protective cover on the repaired coat.
Choose the best protective cover like enamel paint, PVC material, or an acrylic substance based on your needs that provides long protection over the years. Alongside, it needs to be waterproof as it shall regularly come in contact with water.
Again read and follow the instructions accurately while applying it. If you use an epoxy adhesive, use a waterproof sealant for the bathroom and apply it to the repaired crack area smoothly.
8. Give it Time to Cure
Whether you use paint or any other substance, they again need adequate time to dry. Notably, the sealant and acrylic material takes a longer time to dry.
If you don’t let it dry properly, the waterproof material won’t work, and your repaired crack may develop further, creating a fuss. Once done, check it properly by wearing gloves in your hand to avoid sticking with any wet material.
9. Timely Maintenance
You can use your bathtub regularly after the protective covering has dried. But, if you clean your bathtub in the future with any corrosive or hard substances, it can wear off the repair.
Otherwise, after continuous use for months, it can naturally wither away. To avoid any such situation, you need to recheck the crack and its repair at least once a month.
Wrapping Up
Your bathroom is part of your home where you can spend moments alone in peace. It is a perfect relaxing spot after a hectic day to refresh. So, noticing a small crack in your bathtub would bother you. Further, it can develop into a big crack, causing problems.
Following this DIY guide and making some efforts can help you eliminate the crack and save the investment you made in the bathtub. It will ensure your safety and comfort without hampering your bath routine.
You May Also Like:


